How to Reverse Sear a Prime Rib
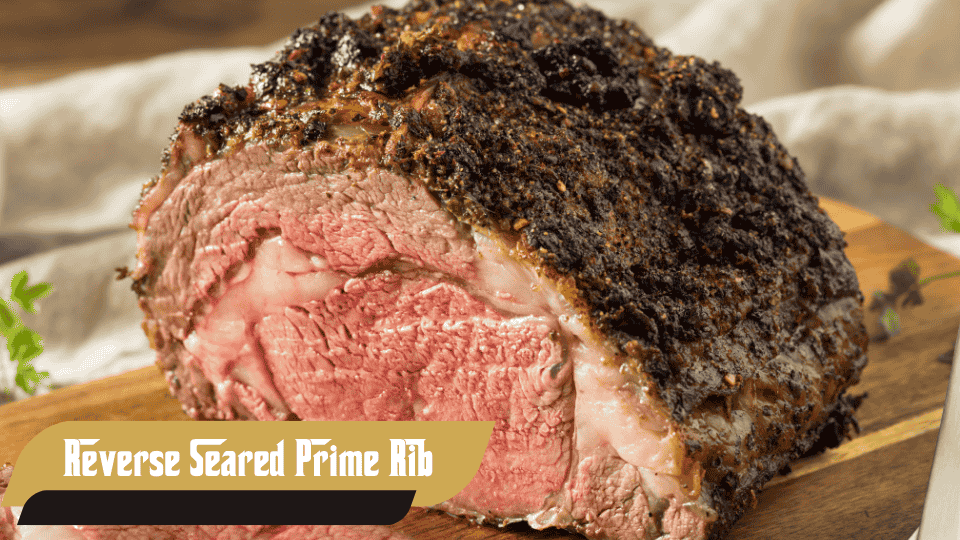
If you’re looking to impress your guests with a perfectly cooked prime rib, the reverse sear method is your best friend. This technique delivers a stunning balance of a crispy, flavorful crust and a perfectly pink, juicy interior. Whether you’re preparing a holiday dinner or a special occasion feast, mastering the reverse sear is essential for creating that restaurant-quality prime rib at home. Let’s break down the steps to help you achieve a show-stopping prime rib using this method.
What is Reverse Sear?
The reverse sear method is a two-step process that involves cooking the meat slowly at a lower temperature, then finishing it off with a high-heat sear to create a flavorful crust. This allows the prime rib to cook evenly from edge to center, resulting in that tender, medium-rare to medium doneness we all crave.
Watch our step by step guide on how to reverse sear a prime rib below!
1. Prep and Season the Prime Rib
To get the best flavor and texture, we recommend dry brining your prime rib at least a day in advance. Dry brining enhances the meat’s natural flavor and helps it retain moisture during cooking. Read our guide on how to dry brine to learn more.
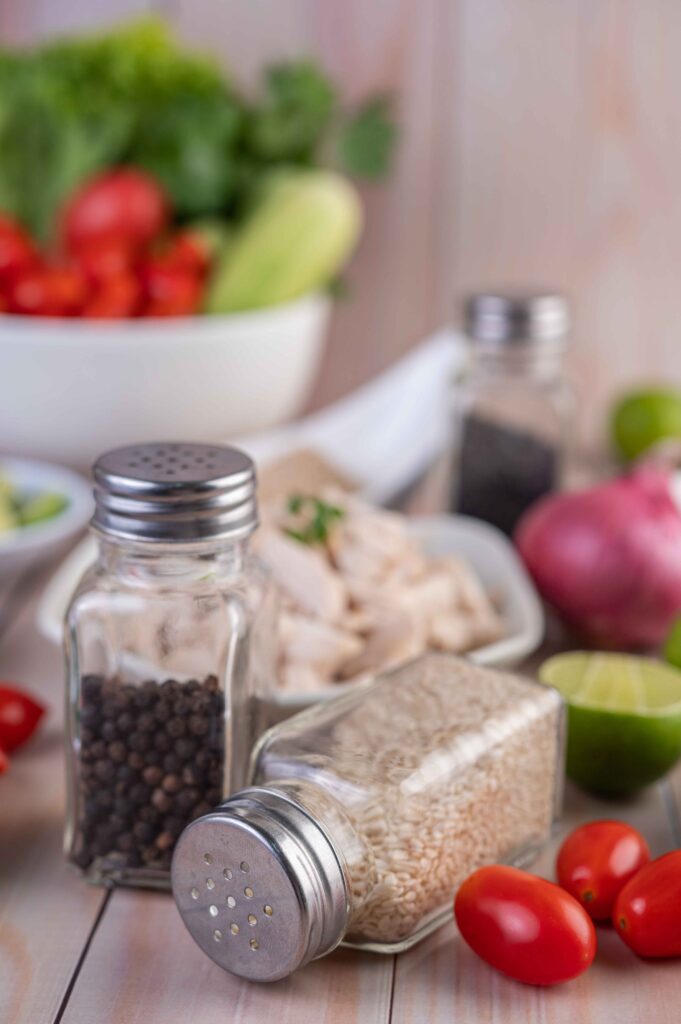
If you’re pressed for time, you can skip the dry brining and season the prime rib right before it goes into the oven. For the seasoning, keep it simple to let the meat’s flavor shine:
- Salt and pepper are classic options.
- Want to add a little extra? Use garlic powder and dried herbs like thyme or rosemary. Avoid fresh herbs, as they will burn in the oven.
Before seasoning, coat the outside of the prime rib with olive oil to help the seasonings adhere and promote a beautiful crust. Alternatively, you can use clarified butter for a richer flavor. However, avoid regular butter, as it will burn during cooking.
2. Preheat the Oven to 250°F
Set your oven to 250°F (120°C). This low and slow cooking method ensures even cooking and a tender, juicy center.
3. Cook to Desired Internal Temperature
Using a Meat Thermometer
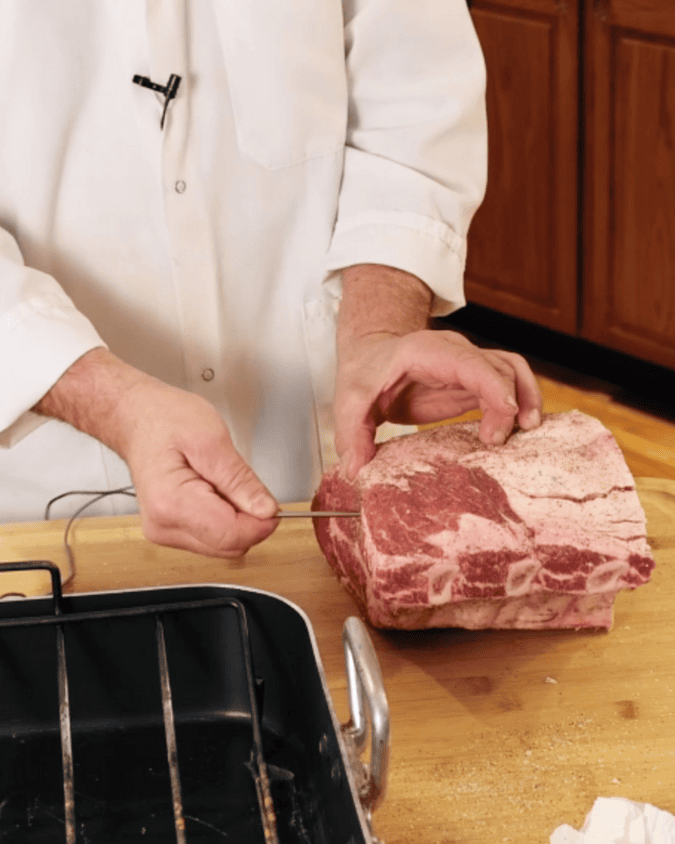
To cook your prime rib perfectly, a meat thermometer is essential. Insert the thermometer so the tip is positioned halfway through the roast, avoiding any bones or large fat pockets, as these can skew your readings.
We used an oven-safe meat thermometer that stays in the meat while cooking, providing real-time temperature readings. Some models even have alarms that go off when your desired temperature is reached—an incredibly handy feature. These thermometers are affordable and can be purchased online or at your local market.
Temperature Guide:
- Rare: 120°F (49°C)
- Medium Rare: 125°F (52°C)
- Medium: 130°F (54°C)
4. Rest the Prime Rib
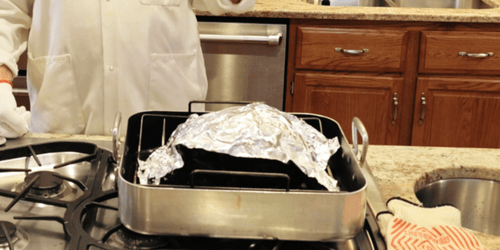
Once the prime rib reaches the target temperature, remove it from the oven and loosely tent it with foil. Let it rest for 45 minutes. This resting period allows the juices to redistribute throughout the meat for maximum tenderness and flavor.
5. Preheat the Oven to 500°F
After resting, increase the oven temperature to 500°F (260°C). This high heat creates the perfect sear on the outside of the roast.
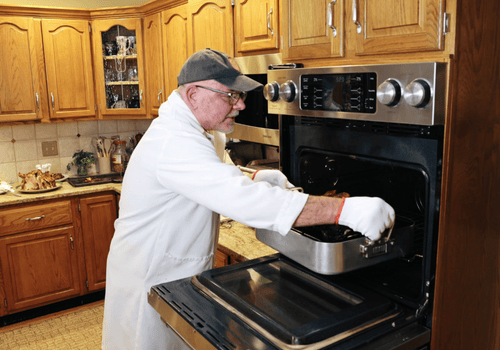
6. Sear for the Perfect Crust
Return the prime rib to the oven for 10 minutes. The high heat will give the roast a beautiful, golden-brown crust. Keep a close eye to prevent overcooking.
7. Remove, Carve, and Serve
After the sear, let the prime rib rest for an additional 10-15 minutes. Then, carve and serve this juicy, flavorful masterpiece.
Serving Size Suggestion
We recommend planning for 1 ½ lbs of prime rib per person to make sure everyone gets a satisfying portion.
By following these steps, including our tips on seasoning, brining, and using a thermometer, you’ll achieve a perfectly cooked reverse-seared prime rib. Whether it’s a holiday centerpiece or a special treat, this recipe will wow your guests and leave them craving more.
